Marching into Automaton territories and Outposts may look like a one-way ticket when you’re riding solo in Helldivers 2, but the right loadout can make all the difference in the world. Whether you’re mowing down bots or blowing up structures, these loadouts offer the perfect balance between firepower and survival.
So, here are the 5 best loadouts in Helldivers 2 that will allow you to take on Automatons on any difficulty, be it Trivial or Super Helldive.
Loadout 1


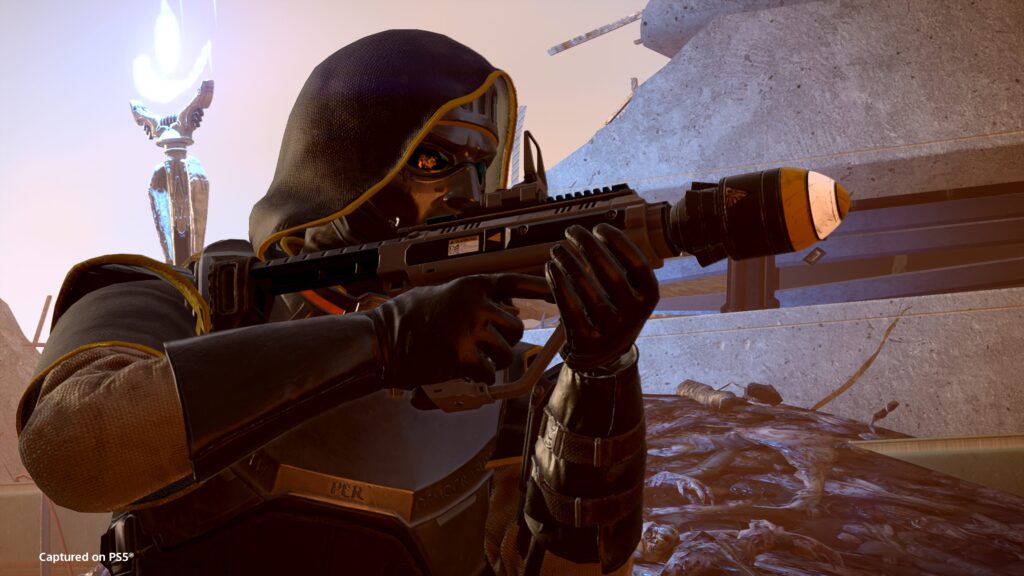
This solo loadout in Helldivers 2 will transform you into a walking tank, with the Coyote setting Automatons ablaze with medium-armor penetrating incendiary rounds and the Ultimatum and Seeker grenades exploding every wired scum nearby. The Quasar Cannon obliterates heavy-armored folks, supported by the Autocannon and Rocket Sentries, for making quick work of crowds.
The Dreadnought armor with the Servo-Assisted Passive offers another layer of protection, while the Supply Pack refills your ammo, grenades, and Stims. Experimental Fusion will enhance mobility and survivability when Automatons surround your position.
Loadout 2
Heavy firepower and precision come with this solo loadout in Helldivers 2, as the Adjudicator handles bots with medium-armor penetration, with the Ultimatum, and the Thermite Grenades bring an explosive punch to the battlefield. The Orbital Laser, Eagle Strafing Run, and 380MM HE Barrage come in handy when wiping clustered enemies, while the Autocannon blows up crowds with APHET shells.
The Drone Master armor maximises survivability with the Engineering Kit Passive, increasing holding capacity and the Experimental Fusion, improving movement when diving solo.
Loadout 3
Versatility is what makes this loadout stand out in Helldivers 2, as the Exploding Crossbow deals explosive and splash damage to Automaton groups, while the Talon accurately dispatches lighter threats. Gas grenades disorient Automaton crowds with the Railgun, taking advantage of aimless bots.
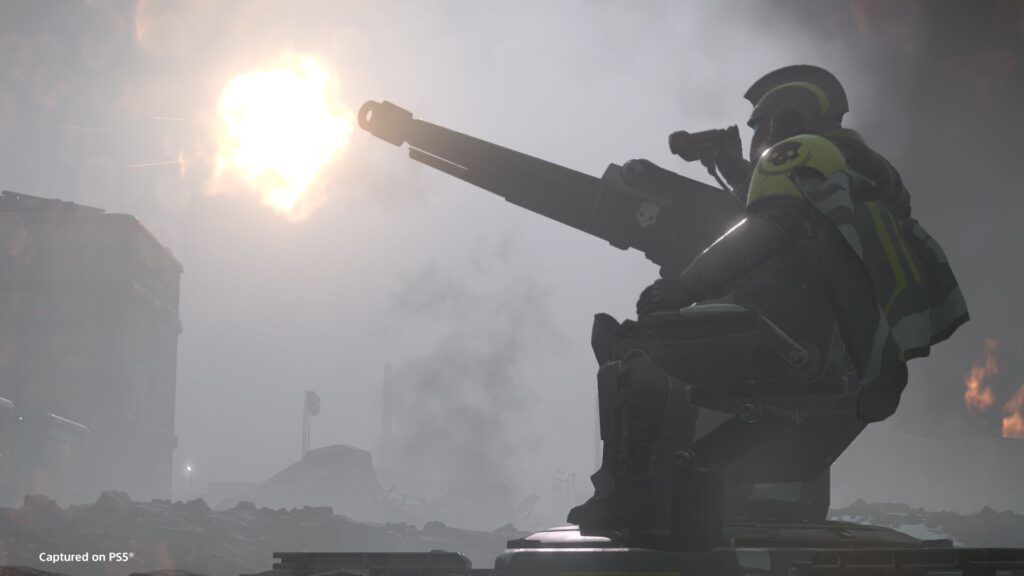
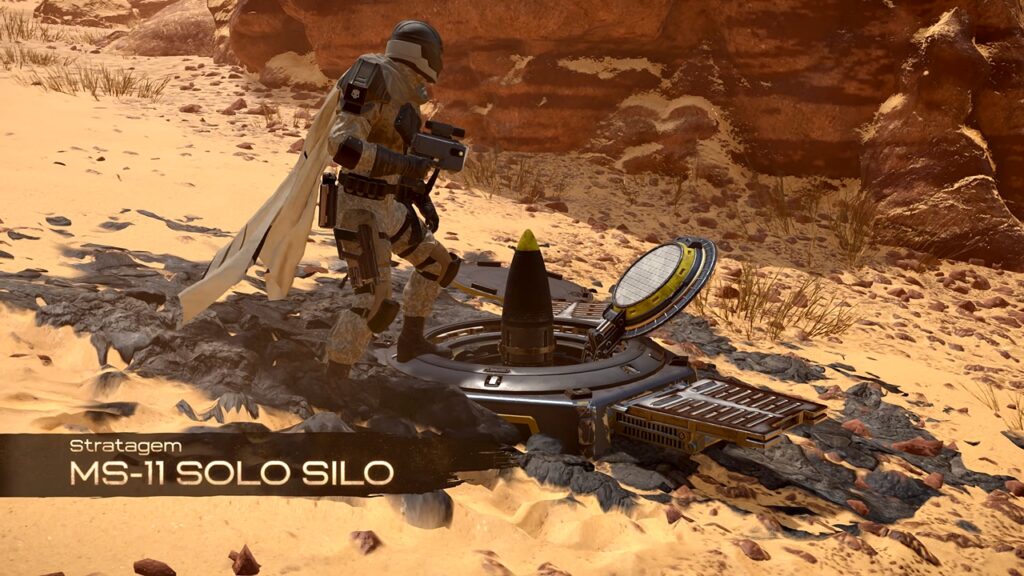
Supply Packs keep the supplies flowing with the Anti-Tank Emplacement, and the Solo Silo offers long-range targeting against heavy Automaton units. Bloodhound armor with the Unflinching Passive enhances armor rating and lets you tank more hits, while Experimental Infusion keeps you on the move, along with reducing damage.
Loadout 4
This is another elite solo loadout against Automatons in Helldivers 2 as the Scorcher’s explosive bolts demolish even the largest of Automatons while the Ultimatum explodes armored targets nearby. Thermite Grenades’ incredible anti-tank output dispatches heavies effortlessly, while the Anti-Tank Emplacement and the Eagle Airstrike destroy nearly every Automaton on the battlefield.
Exploit the Solo Silo’s secret function to target moving Automatons and take advantage of the Warp Pack to avoid getting hit when things get intense. The Breaker Armor will ensure more mobility, paired with the Warp Pack, so use them strategically. The Engineering Kit will expand the holding capacity of throwables, while Experimental Infusion maintains the length of carnage that you inflict on Automatons.
Loadout 5

Like the previous solo loadouts listed above, the Coyote and the Ultimatum are a dream team against Automatons in Helldivers 2, dealing incendiary and explosive damage, respectively, with the Gas Grenades transforming bots into directionless husks. Eagle Strafing Run is effective against waves of Automatons, while the Spear locks on and completely destroys Automaton structures and heavies with unfathomable damage.
The 380MM HE Barrage is useful against Automaton masses, with the Rocket Sentry tearing down ranged bot units in quick succession. Correct Officer serves as an all-rounder armor with the Ballistic Padding Passive providing resistance to chest and explosive damage, and the Experimental Infusion keeps you mobile while you dish out Managed Democracy against the bots.
Are you ready to dive solo and show the Automaton scum who’s boss in Helldivers 2 with these loadouts? Share your thoughts and picks in the comment section below.